How to Configure AWS SQS Dead Letter Queue using CloudFormation
Dear Reader, Hope you are doing well. In today’s post, I will help you configure AWS SQS dead letter queue using CloudFormation.
But, before we configure an SQS DLQ using CloudFormation, let’s try to understand what exactly is a dead letter queue and how it works. Feel free to skip the below section If you already are familiar with SQS DLQ.
Don’t want to miss any posts from us? join us on our Facebook group, and follow us on Facebook, Twitter, LinkedIn, and Instagram. You can also subscribe to our newsletter below to not miss any updates from us.
What is AWS SQS Dead Letter Queue?
As you might already know, Amazon SQS or Simple Queue Service is a fully managed message queue Service provided by AWS. In the world of micro-services architecture, Amazon SQS helps you decouple your application components so that they can work and fail independently.
Message producers send messages to the queue and the consumer processes it. Sounds perfect right?
What happens if a message processing fails?
What if a consumer is unable to process a message even after multiple tries?
You don’t want to keep trying to process a single message infinitely right?
You want to proceed with the next message. But, of course, you would like to debug your app later for any such failed messages.
Right?
How do you do that?
Well, to deal with such messages, SQS provides you with a feature called dead letter queue. you can store any message that failed to process after a few attempts into a dead letter queue.
In other words, SQS DLQ allows us to store messages that couldn’t be processed by a consumer due to whatsoever reasons like corrupted messages or coding errors etc. So that you can check DLQ later to take action on the messages.
To be more specific, SQS DLQ stores the messages which were received successfully by a consumer but could not be processed even after multiple tries.
To understand SQS DLQ and its working in detail, please free to check out my previous article on SQS dead letter queue.
By this time, I assume you have got a clear idea about what SQS DLQ is and how it works. Let’s set up a dead letter queue for an application queue using CloudFormation.
How to Configure AWS SQS Dead Letter Queue using CloudFormation?
Let’s see the step-by-step instruction to configure AWS SQS dead letter queue using CloudFormation.
Step 1: Provide proper permission
- If you are not an admin user, you should explicitly provide sqs:CreateQueue and sqs:SetQueueAttributes permission for your user/role.
- Additionally, you will also need cloudformation:* to be able to do CloudFormation stack creation, updation etc.
Note: If you are unable to figure out the correct permission in the beginning, you can use sqs:*. But please it’s not safe to allow all action and you should only use it till you find the correct set of permission.
Step 2: Prepare a template
You can use YAML or JSON for your template. I prefer YAML for writing my templates. But don’t worry, If you want it in JSON, I will provide a JSON template as well.
Or you can convert a CloudFormation from YAML to JSON using my previous tutorial- Convert AWS CloudFormation Template from YAML to JSON and Vice Versa
How do you configure a dead letter queue?
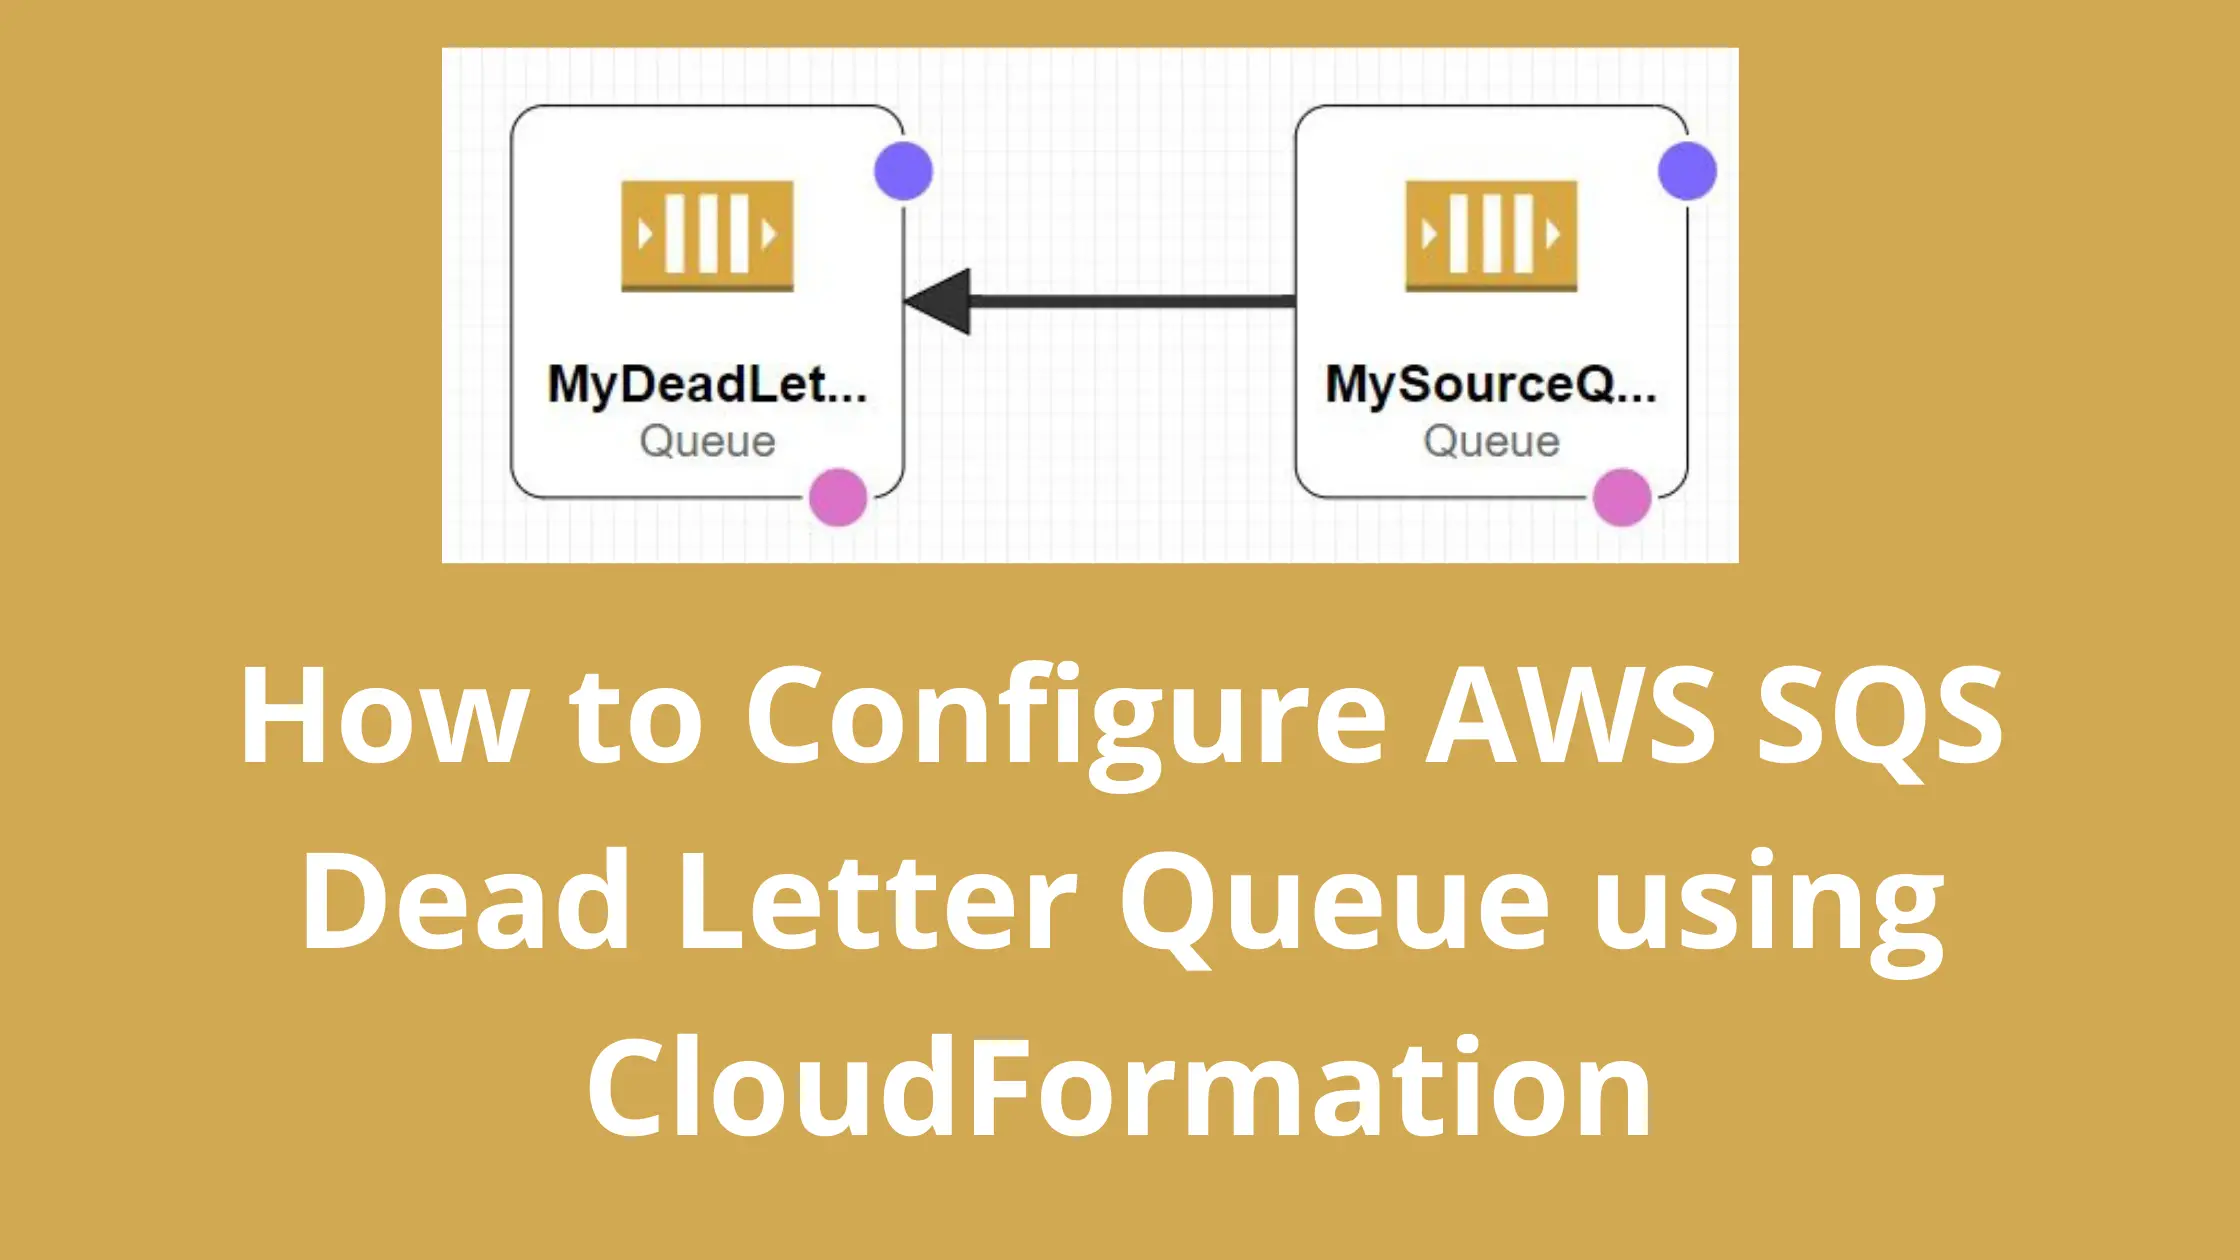
To configure a dead letter queue for your actual queue, all you need is to create two queues(1 source queue and 1 to be used as a dead letter)
Set redrive policy of source queue to send failed messages to dead letter queue.
AWS::SQS::Queue resource with RedrivePolicy looks like below.
 MySourceQueue:
    Type: AWS::SQS::Queue
    Properties:
      RedrivePolicy:
        deadLetterTargetArn: !GetAtt MyDeadLetterQueue
        maxReceiveCount: 5
deadLetterTargetArn : Here you provide the actual ARN of the queue you would like to use as a dead letter queue.
maxReceiveCount: The number of times a message is delivered to the source queue before being moved to the dead-letter queue.
Few things to note there –
- The dead-letter queue of a FIFO queue must also be a FIFO queue. Similarly, the dead-letter queue of a standard queue must also be a standard queue.
- By default, CloudFormation creates a standard queue for you. However, If you need a FIFO queue, you can specify a parameter
FifoQueueas true. - Once you create a queue, you can not change its type. For example, you can not convert a Standard queue to FIFO and vice versa after the creation.
- If you are creating a FIFO queue, the name must end with the .fifo suffix.
- Your queue name must be unique for your account and region combination.
- SQS does not create a queue automatically. You must first create a queue and then use it as a dead letter queue.
- Both the source queue and dead letter queue must be present in the same account and region
Related: SQS Standard vs. FIFO Queue- Which one to Choose?
Template to Configure AWS SQS Dead Letter Queue using CloudFormation: YAML
In this template, we are declaring two Amazon SQS queues, one standard and one FIFO. After the creation of the queue, we are outputting the queue URL and Arn for later use.
AWSTemplateFormatVersion: '2010-09-09'
Description: Template to configure a sample queue

Parameters:

  MySourceQueueName:
    Type: String
    Description: Standard Queue Name
    Default: app-queue
  MyDeadLetterQueueName:
    Type: String
    Description: Fifo Queue Name
    Default: app-dead-letter-queue

Resources:

 MySourceQueue:
    Type: AWS::SQS::Queue
    Properties:
      QueueName: !Ref MySourceQueueName
      RedrivePolicy:
        deadLetterTargetArn: !GetAtt MyDeadLetterQueue.Arn
        maxReceiveCount: 5

 MyDeadLetterQueue:
    Type: AWS::SQS::Queue
    Properties:
      QueueName: !Ref MyDeadLetterQueueName

Outputs:
  SourceQueueURL:
    Description: URL of Source Queue
    Value: !Ref MySourceQueue
  SourceQueueARN:
    Description: ARN of source queue
    Value: !GetAtt MySourceQueue.Arn
  DeadLetterQueueURL:
    Description: URL of dead-letter queue
    Value: !Ref MyDeadLetterQueue
  DeadLetterQueueARN:
    Description: ARN of dead-letter queue
    Value: !GetAtt MyDeadLetterQueue.Arn
Template to Configure AWS SQS Dead Letter Queue using CloudFormation: JSON
{
    "AWSTemplateFormatVersion": "2010-09-09",
    "Description": "Template to configure a sample queue",
    "Parameters": {
        "MySourceQueueName": {
            "Type": "String",
            "Description": "Standard Queue Name",
            "Default": "app-queue"
        },
        "MyDeadLetterQueueName": {
            "Type": "String",
            "Description": "Fifo Queue Name",
            "Default": "app-dead-letter-queue"
        }
    },
    "Resources": {
        "MySourceQueue": {
            "Type": "AWS::SQS::Queue",
            "Properties": {
                "QueueName": {
                    "Ref": "MySourceQueueName"
                },
                "RedrivePolicy": {
                    "deadLetterTargetArn": {
                        "Fn::GetAtt": [
                            "MyDeadLetterQueue",
                            "Arn"
                        ]
                    },
                    "maxReceiveCount": 5
                }
            }
        },
        "MyDeadLetterQueue": {
            "Type": "AWS::SQS::Queue",
            "Properties": {
                "QueueName": {
                    "Ref": "MyDeadLetterQueueName"
                }
            }
        }
    },
    "Outputs": {
        "SourceQueueURL": {
            "Description": "URL of Source Queue",
            "Value": {
                "Ref": "MySourceQueue"
            }
        },
        "SourceQueueARN": {
            "Description": "ARN of source queue",
            "Value": {
                "Fn::GetAtt": [
                    "MySourceQueue",
                    "Arn"
                ]
            }
        },
        "DeadLetterQueueURL": {
            "Description": "URL of dead-letter queue",
            "Value": {
                "Ref": "MyDeadLetterQueue"
            }
        },
        "DeadLetterQueueARN": {
            "Description": "ARN of dead-letter queue",
            "Value": {
                "Fn::GetAtt": [
                    "MyDeadLetterQueue",
                    "Arn"
                ]
            }
        }
    }
}
Step3: Create a Stack using the prepared template
Now, we know the basics and we have the template so let’s go and create the stack.
- Grab the YAML or JSON template from above at your convenience.
- Save the template with .yml or .json as per the choice of template and follow the below steps.
- Login to AWS Management Console, navigate to CloudFormation and click on Create stack
- Click on “Upload a template file”, upload your saved .yml or .json file and click Next
- Enter the stack name and click on Next. In the configuration, keep everything as default and click on Next.
- In the events tab of the stack, you can view the status.
- Once the stack is successfully created, you can go to the SQS service and verify your queue.
- Also, you can check the output tab of your CloudFormation stack to view the queue URL and Arn of the queue.

PS: You can also deploy your CloudFormation template using AWS CLI. Here is how.
Clean Up
If you are configuring this SQS queue with a dead letter queue for learning purposes. Don’t forget to delete your CloudFormation stack so that your queue is deleted and you don’t bear any cost.
Happy Learning !!!
Conclusion:
In this post, we configured AWS SQS dead letter queue using CloudFormation. Let’s summarize what we learnt.
We learnt that-
- SQS dead letter queue works great to store messages that couldn’t be processed successfully even after a certain number of attempts named as MaxReceiveCount
- Messages can be stored in DLQ for later debugging or other actions
- AWS doesn’t automatically create a deal letter queue. You must first create a queue and then use it as a dead letter queue
- So, ideally, we created two queues and used one as a dead letter queue by specifying it as the target in the source queue Redrive policy.
- Both the source queue and dead letter queue should be of the same type
- Also, both the queue should be present in the same account and the same region
I hope you found this post helpful.
Enjoyed the content?
Subscribe to our newsletter below to get awesome AWS learning materials delivered straight to your inbox.
Don’t forget to motivate me by-
- Adding a comment below on what you liked and what can be improved.
- Follow us on
- Share this post with your friends
Suggested Read:
- AWS SQS Standard Queue vs FIFO Queue: Which One to Choose?
- Automated React App Deployment from CodeCommit to AWS S3
- AWS Serverless Applicaton Model(SAM): All You Need to Know
- AWS S3 Encryption: Way to Secure your Data in S3
- Understand IAM PassRole to Secure your AWS Infrastructure
- AWS S3 Storage Classes: All You need to Know
- Attach an IAM Role to an EC2 Instance using CloudFormation
- How to Create S3 Bucket using CloudFomation
- Most Common types of Cyber Attacks in 2020
- Create DynamoDB table using CloudFormation
- Provision ACM certificate using CloudFormation
- Create SSM Parameter using CloudFormation
- Create API Gateway Custom Domain using CloudFormation
3 thoughts on “How to Configure AWS SQS Dead Letter Queue using CloudFormation”
Can you suggest me how to re generate ppk for aws
You mean EC2 keypair .pem file to .ppk? You can use puttygen which comes bundled with putty. Let me know if you need help. I can come up with a tutorial