How to Create AWS SQS Queue Policy using CloudFormation
Dear Reader, I hope you are doing good. In one of my previous post, I helped you create an SQS queue using CloudFormation . I also came with a post on how to configure an SQS dead letter using CloudFormation.
In today’s post, I am here to help you create AWS SQS queue policy using CloudFormation. By the end of this tutorial, you should be able to apply a queue policy to an SQS queue(or list of queues) using CloudFormation.
Let’s start with understanding amazon SQS Queue Policy !!!
What is Amazon SQS Queue Policy?
Amazon SQS Queue Policy or SQS Queue Access Policy is a resource bases policy which gets applied on an SQS queue resource. It basically lets you define who can access your queue.
Ideally, you can use IAM policies to provide permission to your users to be able to access your queues . However, SQS policy comes really handy when it comes to giving cross account access to your queue.
For example- you can create a policy on your queue in Account A to allow another account B to send and receive messages.
Alright, I guess you got an idea about SQS queue policies. So, lets go ahead and see how to create an SQS queue policy using CloudFormation.
Steps to Create AWS SQS Queue Policy using CloudFormation?
- Provide proper permission to your user/role
- Prepare policy for your use-case
- Prepare the template
- Create a Stack using prepared template
- Validate the applied policy in SQS console
Let’s see the step by step instruction to create AWS SQS queue policy using CloudFormation.
Step 1: Provide proper permission to your user/role
- If you are not an admin user, you should explicitly provide these permission for your user/role.
- sqs:CreateQueue
- sqs:AddPermission
- sqs:RemovePermission
- sqs:GetQueueAttributes
- sqs:SetQueueAttributes
- sqs:GetQueueUrl
- Additionally, you will also need cloudformation:* to be able to do CloudFormation stack creation, updation etc.
Note: If you are unable to figure out correct permission in the beginning, you can use sqs:* but please note that, it’s not safe to allow all action and you should only use it till you find correct set of permission.
Step 2: Prepare policy for your use-case
Once you have proper permission, It’s time to prepare the policy that you want to apply to your SQS queue. You can either craft your permission yourself or go to Policy Generator to generate a policy using GUI.
Simplest policy may look like below: It allows all actions to all principal -It’s not a good idea although(Always follow the principal of least privilege)
{
  "Version": "2012-10-17",
  "Id": "MyDemoQueuePolicy",
  "Statement": [
    {
      "Sid": "Send_Permission",
      "Effect": "Allow",
      "Principal": "*",
      "Action": "sqs:SendMessage",
      "Resource": "*"
    }
  ]
}
So, let’s prepare the policy for the use-case that we will implement today.
Use-case: I want to allow an IAM user Bob to be able to send messages to my queue. I will create the queue in the same CloudFormation template.
First step I did was to grab the user’s Arn from IAM console.
User Arn: arn:aws:iam::123456789012:user/Bob
This is how my policy looks like-
{
  "Version": "2012-10-17",
  "Id": "MyDemoQueuePolicy",
  "Statement": [
    {
      "Sid": "Send_Permission",
      "Effect": "Allow",
      "Principal": {
        "AWS": "arn:aws:iam::123456789012:user/Bob"
      },
      "Action": "sqs:SendMessage",
      "Resource": "Queue ARN we will take from template using !GetAtt on the created queue"
    }
  ]
}
You may decide to give permission to other accounts. In that case you can mention the principal like below.
 "Principal": {
        "AWS": "123456789012"
      }
Step 3: Prepare the template
You can use YAML or JSON for your template. I prefer YAML for writing my templates. But don’t worry, If you want it in JSON, I will provide JSON template as well.
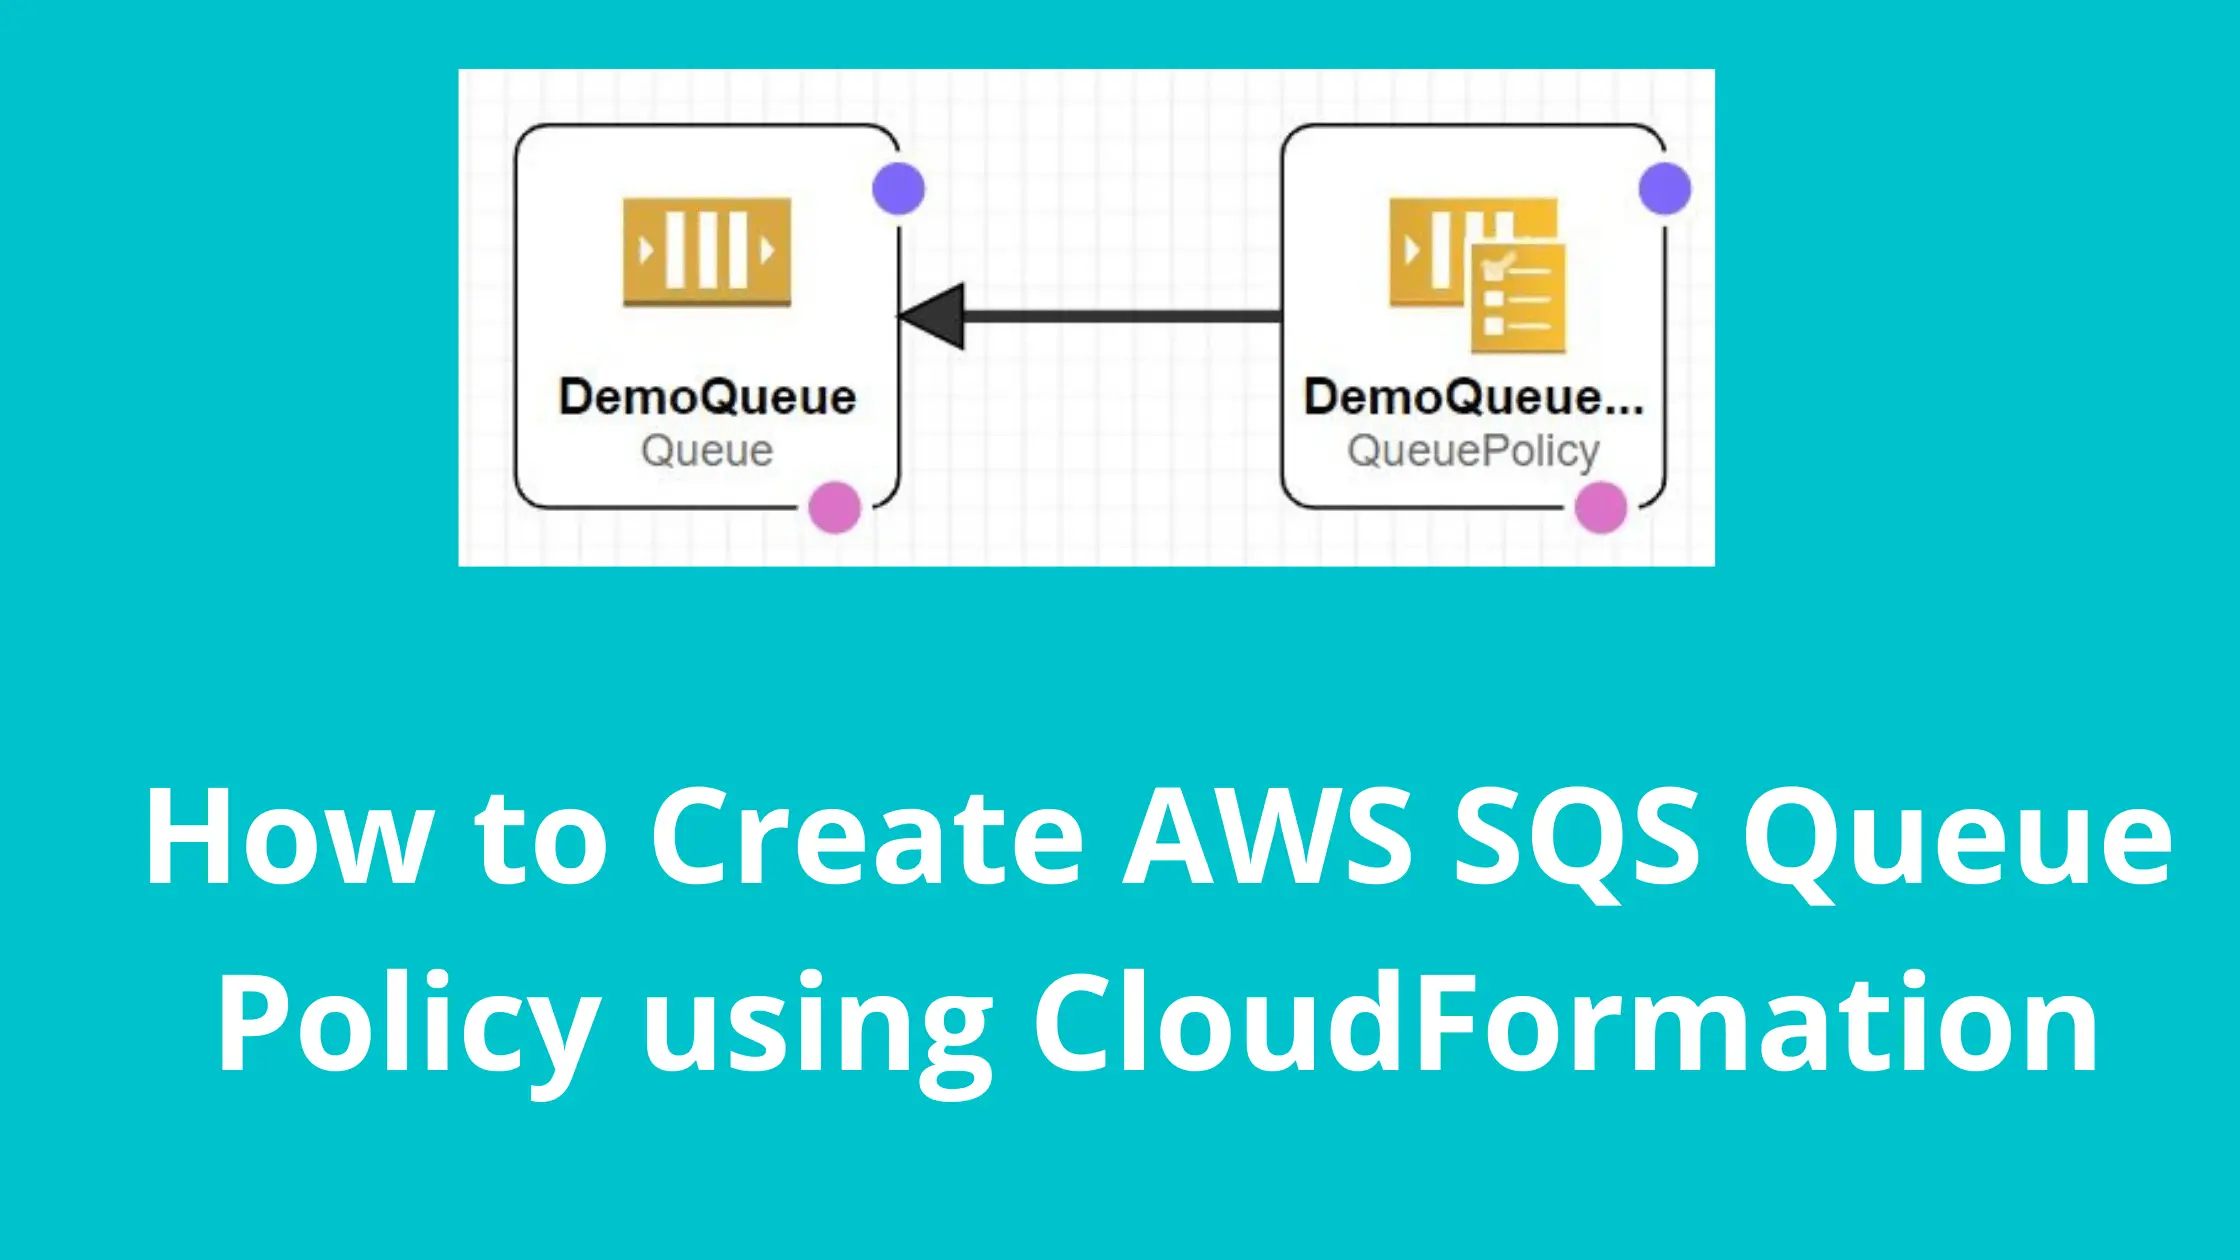
To apply a queue policy to an SQS queue, we use AWS::SQS::QueuePolicy resource.
Type: AWS::SQS::QueuePolicy
Properties:
  PolicyDocument: Json
  Queues:
    - String
Explanation –
- PolicyDocument is the actual policy that you want to apply to queue
- Queues parameter takes the URL of all the queues you want to apply this policy to
Note: Please don’t provide queue Arn in this field. The reason I am telling this is, I have seen multiple questions from people saying that their SQS policy creation using CloudFormation is failing. In reality many of them provide queue Arn in this field. So don’t do this mistake. Provide all the Queue URL either specifically or if you have defined the queue in the same template like me, use !Ref as using !Ref on queue returns queue URL.
Template to Create AWS SQS Queue Policy Using CloudFormation : YAML
In this template, we are creating a queue named demo-queue. After the creation of queue we are applying a policy to the same queue to allow user Bob to SendMessase to the queue.
AWSTemplateFormatVersion: 2010-09-09
Description: AWS CloudFormation Template to create and apply an SQS Policy

Parameters:
  DemoQueueName:
    Type: String
    Description: Queue Name
    Default: demo-queue
  UserArn:
    Type: String
    Description: User to which SQS will allow perfoming actions
    Default: arn:aws:iam::123456789012:user/Bob


Resources:
  DemoQueue:
    Type: AWS::SQS::Queue
    Properties:
      QueueName: !Ref DemoQueueName
  DemoQueuePolicy:
    Type: AWS::SQS::QueuePolicy
    Properties:
      PolicyDocument:
        Id: MyDemoQueuePolicy
        Version: '2012-10-17'
        Statement:
          - Sid: Send_Permission
            Effect: Allow
            Principal:
              AWS: !Ref UserArn
            Action:
              - sqs:SendMessage
            Resource: !GetAtt DemoQueue.Arn
      Queues:
        - !Ref DemoQueue
Note: When you want to apply policy to multiple queue, make your Queues parameter like below. Also, you can use your existing queues as well.
Queues:
  - !Ref DemoQueue
  - !Ref AnotherQueue
  - https://sqs.eu-west-1.amazonaws.com/123456789012/existingqueue
Template to Create AWS SQS Queue Policy using CloudFormation: JSON
{
    "AWSTemplateFormatVersion": "2010-09-09",
    "Description": "AWS CloudFormation Template to create and apply an SQS Policy",
    "Parameters": {
        "DemoQueueName": {
            "Type": "String",
            "Description": "Queue Name",
            "Default": "demo-queue"
        },
        "UserArn": {
            "Type": "String",
            "Description": "User to which SQS will allow perfoming actions",
            "Default": "arn:aws:iam::123456789012:user/Bob"
        }
    },
    "Resources": {
        "DemoQueue": {
            "Type": "AWS::SQS::Queue",
            "Properties": {
                "QueueName": {
                    "Ref": "DemoQueueName"
                }
            }
        },
        "DemoQueuePolicy": {
            "Type": "AWS::SQS::QueuePolicy",
            "Properties": {
                "PolicyDocument": {
                    "Id": "MyDemoQueuePolicy",
                    "Version": "2012-10-17",
                    "Statement": [
                        {
                            "Sid": "Send_Permission",
                            "Effect": "Allow",
                            "Principal": {
                                "AWS": {
                                    "Ref": "UserArn"
                                }
                            },
                            "Action": [
                                "sqs:SendMessage"
                            ],
                            "Resource": {
                                "Fn::GetAtt": [
                                    "DemoQueue",
                                    "Arn"
                                ]
                            }
                        }
                    ]
                },
                "Queues": [
                    {
                        "Ref": "DemoQueue"
                    }
                ]
            }
        }
    }
}
Step 4: Create the Stack using prepared template
Now, we know the basics and we have the template so let’s go and create the stack.
- Grab the YAML or JSON template from above as per your convenience.
- Change the parameters as per your requirement
- Save the template with .yml or .json as per the choice of template and follow below steps.
- Login to AWS Management Console, navigate to CloudFormation and click on Create stack
- Click on “Upload a template file”, upload your saved .yml or .json file and click Next
- Enter the stack name and click on Next. In configuration, keep everything as default and click on Next.
- In the events tab of stack, you can view the status. Once, successful, we will verify the policy

Step 5: Validate the applied policy in SQS console
Go to SQS, Click on your queue name
Go to Access Policy Tab
You should be able to see the applied policy like below.

Congratulations !!! You have successfully applied the queue policy to your queue.
Clean Up
If you are creating this SQS queue policy for learning purpose. Don’t forget to delete your CloudFormation stack so that your queue is deleted and you don’t bear any cost.
Happy Learning !!!
Conclusion:
In this post, we learnt how to create amazon SQS queue policy using CloudFormation.
- We started with figuring out correct set of permission.
- Then we prepared policy for our usecase
- After that, we crafted the CloudFormation Template
- We created the stack and verified the applied policy in SQS console.
I hope you found this post helpful.
Enjoyed the content?
Subscribe to our newsletter below to get awesome AWS learning materials delivered straight to your inbox.
Subscribe to our newsletter below to get awesome AWS learning materials delivered straight to your inbox.
Don’t forget to motivate me by-
- Adding a comment below on what you liked and what can be improved.
- Follow us on
- Subscribe to our newsletter to get notified each time we post new content
- Share this post with your friends
Suggested Read:
- AWS SQS Standard Queue vs FIFO Queue: Choose the Right One
- How to Configure SQS Dead Letter Queue using CloudFormation
- Understand IAM PassRole to Secure your AWS Infrastructure
- How to Create S3 Bucket using CloudFomation
- Most Common types of Cyber Attacks in 2020
- Create DynamoDB table using CloudFormation
- Provision ACM certificate using CloudFormation
- Create SSM Parameter using CloudFormation
- Create API Gateway Custom Domain using CloudFormation
- Basics of Serverless Computing