How to Connect to EC2 Instance using Putty Quickly
Connecting to an EC2 instance is needed many times when you need to perform any operations on your EC2 instance.
There are many ways to do it including from the browser itself using AWS EC2 Instance Connect Option. In this post, we’ll see how to connect to EC2 Instance using putty.
So are you ready?
Let’s get started…
Don’t want to miss any posts from us? join us on our Facebook group, and follow us on Facebook, Twitter, LinkedIn, and Instagram. You can also subscribe to our newsletter below to not miss any updates from us.
What is Putty?
PuTTY is free and open-source software that supports multiple network protocols such as SSH, Telnet, SCP, serial port and raw socket connection.
It is most commonly used to connect to remote servers using SSH, a secure protocol that encrypts all communication between the two machines.
Here are some of it’s usual use cases-
- To connect to remote servers and run commands
- To transfer files between the local and remote machines
- To configure and troubleshoot network devices
- To access serial devices, such as routers and switches
- To debug software
- To monitor system performance
Prerequisite
The prerequisite to connect to the EC2 instance using putty is nothing special. You just need to have an AWS account. Additionally, you need to have permission to create/connect to the AWS instance.
See How to Create a Free Tier AWS account in Right Way
Steps to Connect to EC2 Instance using Putty Quickly
- Launch an Amazon Linux EC2 Instance
- Download and Install PuTTy
- Convert .pem Keypair to .ppk format
- Connect to EC2 Instance using Putty
Step 1: Launch an Amazon Linux EC2 Instance
Before you connect to an EC2 instance, you need to have one up and running. If you don’t have one, use my previous tutorial to create an Amazon Linux Instance on AWS.
Make sure to save your keypair (.pem) file at a convenient location as you will need them while connecting to your instance.
Once you have an instance, grab the public IP/DNS as we’ll need it later. You can find it from the console as shown below-

InstanceIP = 13.232.217.17
Step 2: Download and Install PuTTy
We just grabbed the public IP of the instance we want to connect to. Next, you need to install PuTTy on your local system if you don’t already have it.
First, navigate to PuTTY downloads page and select an installer for your system. And install it.
Once installed, it looks like below-

Step 3: Convert .pem Keypair to .ppk format
PuTTY understands the .ppk file instead of the .pem file. Let’s convert our keypair which is currently in .pem format to .ppk.
Open Puttygen by typing Puttygen in the search bar.
Click on the Load button
Navigate to the folder where keypair is and set the filetype to *
Once you select .pem file, PuTTy imports it as shown below-

Click OK and then Click Save Private Key.
Step 4: Connect to EC2 Instance using Putty
Close the Puttygen application and open PuTTy.
Provide the ec2-user@PublicIp you saved earlier in the hostname field, click save-

Next, click on SSH from the left side menu, click on Auth-> Credentials and Click Browse on Private key file for Authentication.
Select the .ppk file we generated earlier. And Click Open.

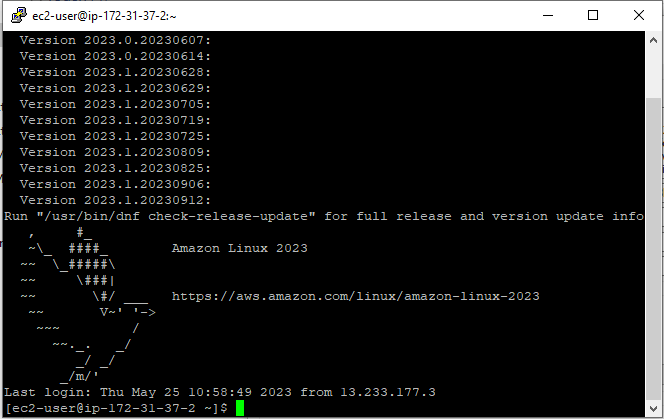
You will see a prompt like the above to Accept the connection for the first time. Click on Accept and within no time, you should be connected to your EC2 instance like shown below-

Congratulations !!!
You have successfully connected to your EC2 Instance using Putty.
Conclusion
In this post, you learned how to Connect to EC2 Instance using Putty quickly. We started from scratch, launched an EC2 instance and connected to it via SSH using SSH client PuTTy.
I hope you were able to connect to your instance using PuTTy. Do let me know in the comment box.
Suggested Read: