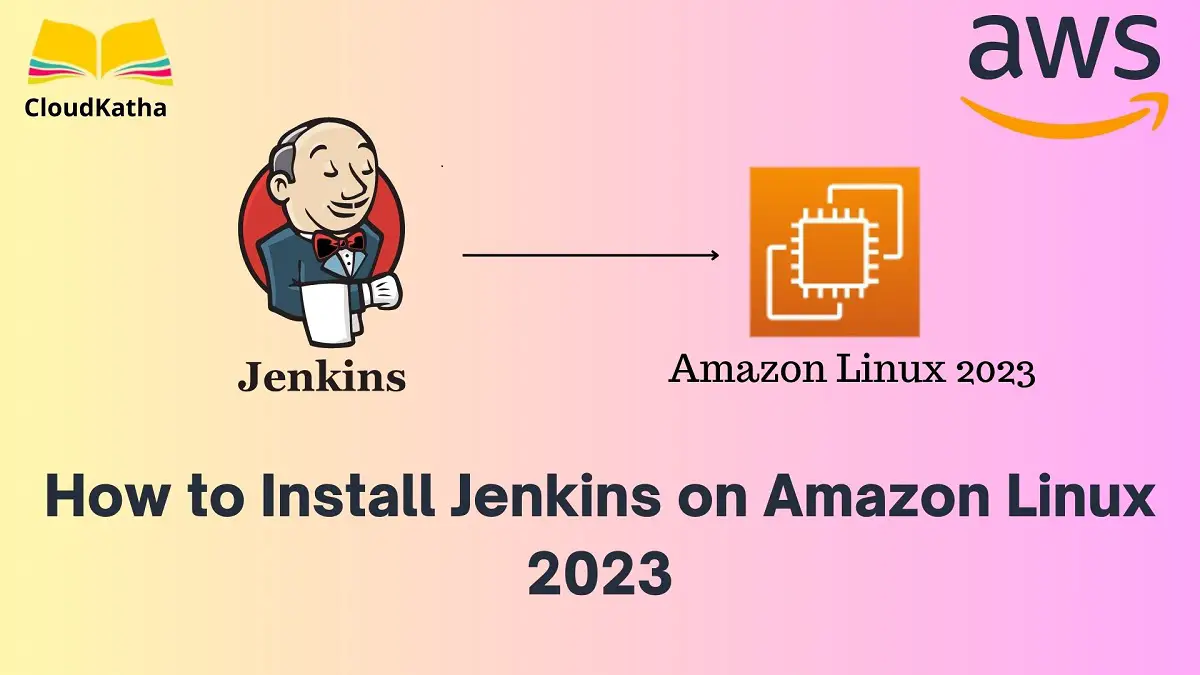
How to Install Jenkins on Amazon Linux 2023 Step by Step
Dear Reader, I hope you are doing amazing today. In my last few posts, I have shared with you how to install Git, Ansible, Nginx, Apache Web Server, Docker, Java, Python, PHP 8.1 etc. on Amazon Linux 2023 or AL2023 EC2 Instance.
In this article, we’ll discuss how to install Jenkins on Amazon Linux 2023 EC2 instance in a step-by-step manner.
So are you ready?
Alright, let’s start.
Don’t want to miss any posts from us? join us on our Facebook group, and follow us on Facebook, Twitter, LinkedIn, and Instagram. You can also subscribe to our newsletter below to not miss any updates from us.
A bit on Jenkins and Amazon Linux 2023(AL2023)
Jenkins: Jenkins is an open-source automation server. It lets you build, deploy and automate any project.
- In other words, Jenkins is a deployment (CI/CD) automation software DevOps tool written in Java.
- Supports multiple OS like Windows, Linux, macOS and other Unix-like operating systems.
- Easy to install and configure
- Extensible using plugins
- Faster due to distributed nature etc.
Amazon Linux 2023: Amazon Linux 2023 or AL2023 is the next-generation Amazon Linux AMI provided by AWS. It is rpm-based and optimized for the cloud. It is designed with the latest Linux innovations to deliver high-performance and stable Linux systems.
Prerequisite
- Java 11 or 17
- 256 MB of RAM
- 1 GB of drive space (although 10 GB is a recommended minimum if running Jenkins as a Docker container)
Steps to Install Jenkins on Amazon Linux 2023 Instance
- Create an Amazon Linux 2023 Instance
- Open Port 8080 in EC2 Security Group
- SSH into your Amazon Linux 2023 Instance
- Run System Update
- Install Java 11 on Amazon Linux 2023
- Add Jenkins Repository
- Import Key from Jenkins
- Install Jenkins on Amazon Linux 2023
- Verify Jenkins Installation
- Start and Enable Jenkins
- Access Jenkins over 8080
- Customize Jenkins
Step 1: Create an Amazon Linux 2023 Instance
Before we can install Jenkins on an Amazon Linux 2023 EC2 instance, we need one up and running.
While launching an instance, you can choose below image-

You can also use my previous tutorial to launch an EC2 instance in a step-by-step manner.
Step 2: Open Port 8080 in EC2 Security Group
Since Jenkin’s default port is 8080. So we need to open port 8080 for our newly created EC2 Instance.
Once your EC2 instance is up and running, click on your instance ID to go to the instance details screen.
Scroll down, click on the Security tab and click the link as highlighted below.

Click on Edit inbound rules, and add one rule for the 8080 port as shown below.

Once you are done adding the rule click on the Save rule as shown above. And you are done with allowing port 8080. Let’s move to the next step to connect to our Amazon Linux 2023 instance so that we can start the Jenkins installation process.
Step 3: SSH into your Amazon Linux 2023 Instance
By this time, I assume you already have an Amazon Linux 2023 instance up and running. Therefore you are all set to install Python on it. However, If that’s not the case, feel free to launch one using one of my previous tutorials.
Once your Amazon Linux 2023 instance is up and running, select your instance and click on Connect as shown in the below screenshot.

Verify that ec2-user is showing in the user name field and click Connect again.
In a matter of seconds, you should be connected to your instance as shown below.

Important Note: If you prefer connecting from your local, feel free to use the command- ssh -i /path/my-key-pair.pem ec2-user@instance-public-ip
Step 4: Run System Update
Before we install any software in your Amazon Linux 2023 instance, it’s recommended to update your system packages to the latest.
You can run the system update using the below command-
sudo dnf updateType sudo dnf update and hit enter.

Step 5: Install Java 11 on Amazon Linux 2023
As I was saying, Jenkins needs Java 11 or later such as Java 17. So let’s install Java 11 on our Amazon Linux 2023.
sudo dnf install java-11-amazon-corretto -y
As you can see, Java 11 is installed on our Amazon Linux 2023 instance.
Step 6: Add Jenkins Repository
If you search for Jenkins using sudo dnf search jenkins, you will not find anything. And the reason is, it’s not present in Amazon Linux 2023 core repository.
Let’s add the Jenkins repository using the below command-
sudo wget -O /etc/yum.repos.d/jenkins.repo \
    https://pkg.jenkins.io/redhat-stable/jenkins.repo
Jenkins repository is added.
Step 7: Import Key from Jenkins
Import the repository key so that package authenticity can be verified. Otherwise, you will get the below error while installing Jenkins.
Public key for jenkins-2.414.1-1.1.noarch.rpm is not installed
The downloaded packages were saved in cache until the next successful transaction.
You can remove cached packages by executing ‘dnf clean packages’.
Error: GPG check FAILED

Let’s add the key using the below command-
sudo rpm --import https://pkg.jenkins.io/redhat-stable/jenkins.io-2023.keyStep 8: Install Jenkins on Amazon Linux 2023
Now that we have imported the key, here is the one-liner to install Jenkins on Amazon Linux 2023-
sudo dnf install jenkins -y
Congratulation !!!
You have successfully installed Jenkins on your Amazon Linux 2023 EC2 Instance.
Step 9: Verify Jenkins Installation
You can verify Jenkins installation using the below command for now. Later when we enable it, we’ll check its status.
jenkins --version
Step 10: Start and Enable Jenkins
As of now, we have just installed Jenkins. It’s not started yet. You can start it using the below command-
Start Jenkins
sudo systemctl start jenkinsEnable Jenkins
You can also enable Jenkins so that every time your system reboots, Jenkins will start automatically.
sudo systemctl enable jenkinsCheck Jenkins’s Running status
sudo systemctl status jenkins
Step 11: Access Jenkins over 8080
Jenkins is running in our Amazon Linux 2023 system as we just verified. Let’s access it.
Grab your public IPv4 DNS and hit http://yourPublicDNS:8080 in a browser window.

As you can see, we are shown the initial screen to set up Jenkins.
Step 12: Customize Jenkins on Amazon Linux 2023
As shown in the above screenshot, you will find your initial Jenkins password in the below location-
/var/lib/jenkins/secrets/initialAdminPasswordHit the below command to get your password-
sudo cat /var/lib/jenkins/secrets/initialAdminPassword
You will see your password as shown above. Use it to log in and set up Jenkins.
Next, choose the Install recommended Plugins option.

Once you double-click the option, various plugins start getting installed as shown below-

Once done, you will be prompted to create the first user.
Provide the details as shown below-

Click Save and Continue

Once you click on Start using Jenkins, you will see-

Go ahead and create a new build. Voila !!!
Conclusion
In this how-to guide, we talked about How to Install Jenkins on Amazon Linux 2023 Instance.
We saw that Jenkins is not available in the core repository of Amazon Linux 2023. We added the Jenkins repository and repository key and installed Jenkins after that.
Later, we accessed Jenkins over port 8080 and did the initial setup of Jenkins on Amazon Linux 2023.
Were you able to install Jenkins on Amazon Linux 2023 using this tutorial? Let me know in the comment section.
Enjoyed the content?
Subscribe to our newsletter below to get awesome AWS learning materials delivered straight to your inbox.
Don’t forget to motivate us-
One thought on “How to Install Jenkins on Amazon Linux 2023 Step by Step”