How to Enable MFA On Your Amazon AWS Root Account
As you might already know, your Root account has full access to all the services in AWS. There is no way to limit this permission.
Having said that, imagine if someone(hacker) gets hold of your root account !!!
What do you think can happen?
They might run huge amount of unnecessary workload on your behalf in your account and you end up with a big fat AWS bill. Apart from the bill part they can literally temper your data, steal your data or can perform many other malicious activity.
Now, nobody likes to be hacked.
So, how do you protect your root account from getting compromised?
Well the answer is MFA or Multi Factor Authentication
MFA = Something you know(username/password) + Something you own (MFA Device)
That means, once you enable MFA on your account, apart from the username/password, you will be prompted for an MFA code that you have and then will gain access to your account. Having a second factor, sure does protects you against being hacked up to a great extent.
By now, we know what is MFA and why should you consider setting it up.
Then, Let’s get started with actual steps.
Steps to Enable MFA On Your Amazon AWS Root Account
1. Download an AWS compatible Authenticator App
At the time of writing this post, there are three different options for MFA devices on AWS including hardware ones(We will see in upcoming section). Since I wanted to use my phone, I am going ahead with a mobile app also referred as virtual MFA device.
At the time of writing this, AWS supports below mentioned virtual devices. However, feel free to check the updated list of supported devices on official AWS page.

I am going ahead with Google Authenticator app. You can install your favorite one.
- Android: Google Authenticator
- iOS: Google Authenticator
You can go to your respective App store and download Goggle Authenticator
2. Login to your AWS Root Account
Open AWS Management Console and login as root user as shown below be selecting Root user option. You need to provide the email address and password you used while creating your AWS account

3. Click on Account name and choose My Security Credentials
In the top right side of menu bar, you will see your AWS account name. Click on the account name and then Click My Security Credentials
Account Name -> My Security Credentials

4. Click on Multi Factor Authentication(MFA) tab
Once you Click on “My Security Credentials“, you will see a similar screen like below.

Click on Multi-factor authentication(MFA) and then Click Activate MFA
You will get a popup with all the options of MFA devices as shown below.

Select Virtual MFA device and click Continue
You will see a dialog window with instruction to setup MFA and a Show QR code button.

As you can see the steps in the dialog, we need to scan the QR code with our authenticator app. Once authenticator is setup, it will start generating 6 digit code in the interval of 30 seconds. We need to provide two consecuting code here in console to finish MFA setup. We will do this in next few section.
Click on Show QR in the above dialog so that you can scan it using your app.
5. Open Authenticator App installed in Step 1 and Scan QR
Open Google Authenticator App on your phone and Click Get Started or + icon

Click Scan a QR code

Once you click on Scan a QR code, your camera opens up to scan the code.
App detects your account. Click on Add ACCOUNT in Autheticator app to add your AWS account in your app. Once account added, you will start seeing a 6 digit code. Please note that we are not yet done with MFA setup. We need to provide two consecutive code in console
6. Type 2 Consecutive MFA codes from your Authenticator App

Enter your first code, wait for sometime for second code to appear then enter second code and click Assign MFA
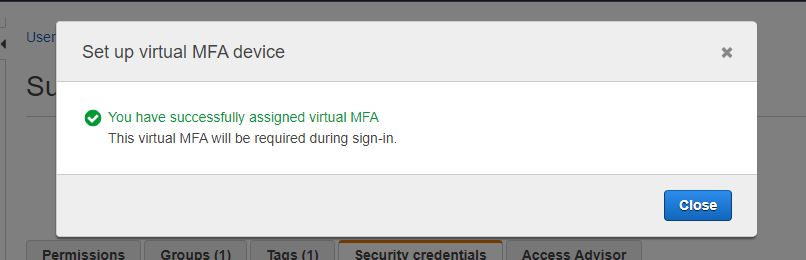
Congratulations !!! You have successfully enabled MFA on your AWS account for your IAM user. Let’s verify the same.
7. Verify MFA Setup
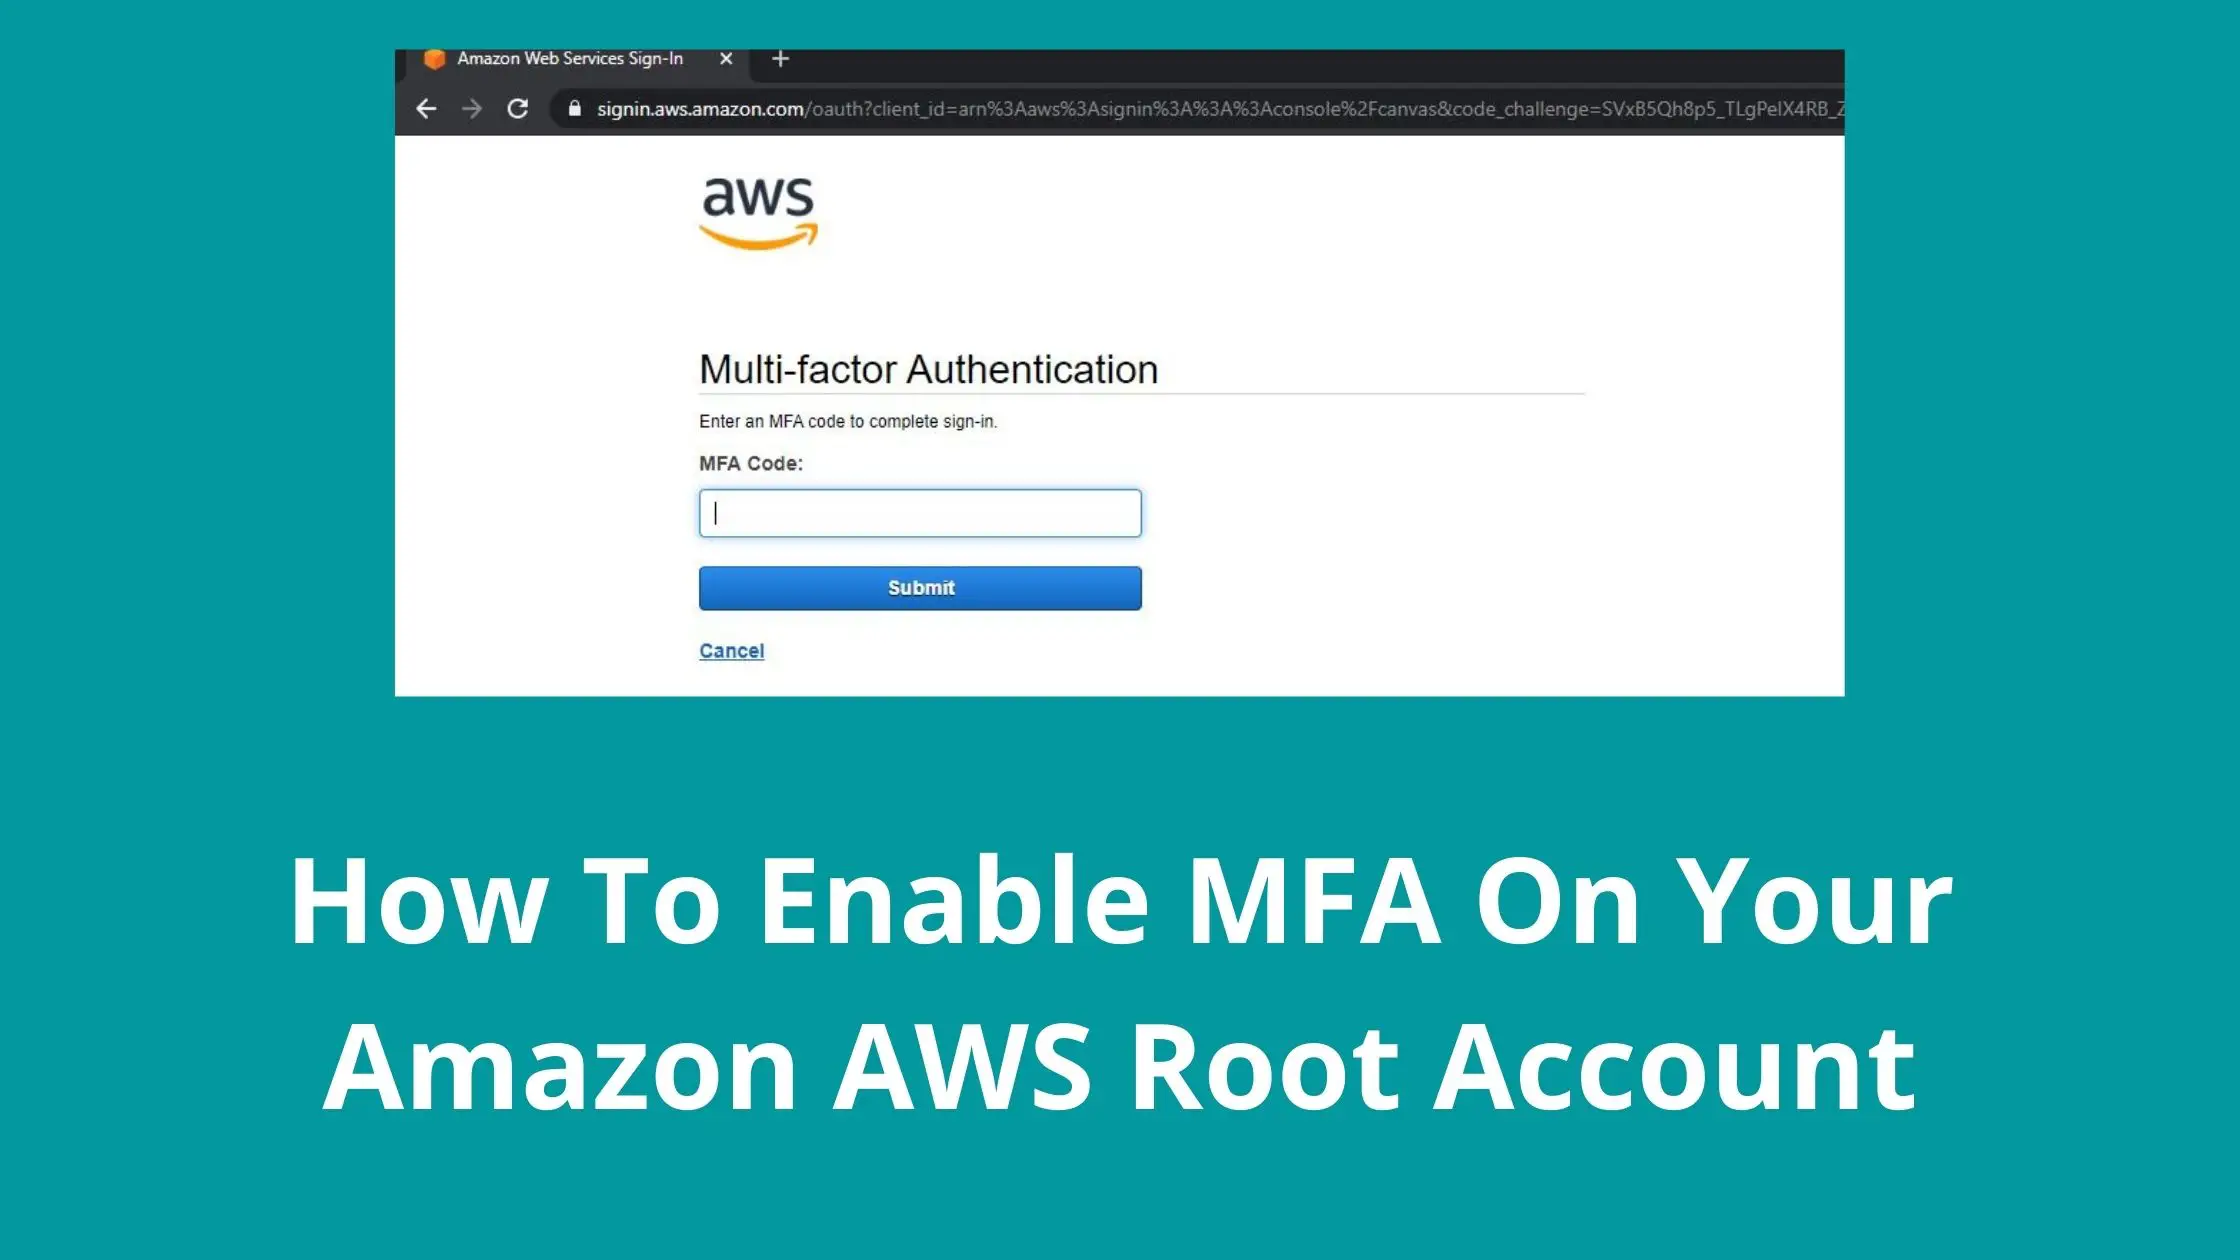
Log out of your account and try to login again.
This time, you will be prompted for an MFA code after you enter your username/password and click Sign In

Enter the 6 digit code from your authenticator app here and click Submit.
There you go !!!!
You should be able to see your AWS console dashboard after a successful login.
Conclusion
In this tutorial, You learnt “How to Enable MFA On Your Amazon AWS Root Account“. We also learnt that having MFA protects our account from being compromised.
We used AWS compatible virtual MFA device(Google Authenticator) to setup MFA for our root account. In addition to that, we also learnt that, after enabling MFA we will be required to enter an MFA code in order to login to AWS console. As a result, we enhanced our security to next level against any compromises.
Please note that, as a best practice, you should enable MFA for your IAM user as well. Here is a post on the same you can checkout: How to Enable MFA for your IAM User on AWS
If you have any question, please feel free to drop in comment section.
Enjoyed the content?
Subscribe to our newsletter below to get awesome AWS learning materials delivered straight to your inbox.
I hope you enjoyed this tutorial. If you have a question, feel free to drop in comment. I will be more then happy to answer your query.
Meanwhile you can also –