How to Create Security Groups in AWS using Terraform
Dear Reader, I hope you are doing well. In one of my previous posts, I covered how to create a security group in AWS using CloudFormation. In this post, we are going to leverage Terraform and learn how to create security groups in AWS using Terraform.
We’ll create a very simple security group to allow HTTP, HTTPS and SSH incoming traffic. We will also add an outgoing traffic rule to Allow ALL(This doesn’t happen by default in Terraform 😛 ).
So are you ready?
Alright !!!
Let’s start with understanding the security group on AWS.
Don’t want to miss any posts from us? join us on our Facebook group, and follow us on Facebook, Twitter, LinkedIn, and Instagram. You can also subscribe to our newsletter below to not miss any updates from us.
Overview of Security Group
A Security Group is like a firewall that control the traffic that is allowed into and out of your VPC resource for example EC2 instance. In simple terms, it governs the incoming and outgoing traffic for your EC2 instance.
Important Points about Security Group You Should Know
- Your VPC comes with a default security group.
- You can create additional security groups if you need.
- Your security group and the resource you attach it to should be in the same VPC.
- You can attach more than one security group to your resource such as an EC2 instance.
- You add rules to your security group to control traffic based on protocols and port numbers.
- Rules are of two types- Inbound and Outbound, As the name says they control inbound(incoming traffic to resource) and outbound(outgoing traffic from resource) traffic respectively.
- By default, the outbound rule allows all traffic on all protocols. However, terraform removes this default outbound rule and you must specify if explicitly if you need to allow all outbound traffic.
Good Read: AWS Security Group vs NACL(Network Access Control List)
What is Terraform?
Terraform is a very popular Infrastructure as Code(IaC) tool by HashiCorp. It lets you provision your infrastructure as code.
- You can provision, update and version your infrastructure in an efficient manner using Terraform.
- You declare your required infrastructure in a configuration file and Terraform creates it in the correct order.
- Configuration files are in a human-readable format using HashiCorp Configuration Language(HCL) or even JSON is supported.
- Terraform is Cloud Agnostic and supports numerous cloud providers like AWS, Azure, GCP etc.
AWS security groups can be created in various ways like console, CLI, SDK, CloudFormation, CDK, Terraform etc. This tutorial discusses launching an Instance using Terraform.
How Do You Create a Resource Using Terraform on AWS?
Unlike CloudFormation, you need to install Terraform in your system before you can use it to create a resource like an EC2 instance on your cloud provider(In our case AWS).
Once installed, you create your configuration file(filename.tf – they have .tf extension) and use the below set of commands to deploy your resources.
$ terraform init
$ terraform plan
$ terraform apply
$ terraform destroy
I highly recommend you check my step-by-step guide to help you get started with Terraform on AWS in the right way. Here is the link-
Once you go through that post you will already have an idea on-
- Installing Terraform
- Creating a Terraform IAM user
- Setting up AWS CLI to allow Terraform to authenticate to AWS
- Setting up your workspace using Visual Studio Code(VS Code) IDE
- Deploying Your First Resource on AWS using Terraform
By this time, I assume you already know how to deploy a resource on AWS using Terraform.
Alright, let’s get started with security group creation.
Prerequisite:
- An AWS Account: Setup Free Tier Account on AWS In Right Way
- Permission to Create a Security Group on AWS
- AWS CLI- See how to install and configure it
- An Editor Like Notepad or VS Code IDE
Steps to Create Security Groups in AWS using Terraform
- Create a Working Directory/Folder
- Create your Security Group Configuration File
- Initialize Your Directory to Download AWS Plugins
- Plan and Deploy
- Validate Security Group Creation
Step 1: Create a Working Directory/Folder
Create a folder in which you’ll keep your security group’s terraform configuration file.

This is where we’ll keep our configuration file.
Step 2: Create your Security Group Configuration File
Navigate inside the folder and create your configuration file. You can name it as per your wish, but to keep things simple, I will name it main.tf
I have started with just provider declaration which specifies that we are using AWS provider. Also, it specifies the credential profile that will be used to authenticate to AWS and the region in which resources are to be created by default.
terraform {
  required_providers {
    aws = {
      source  = "hashicorp/aws"
      version = "~> 3.27"
    }
  }

  required_version = ">= 0.14.9"
}

#Provider profile and region in which all the resources will create
provider "aws" {
  profile = "default"
  region  = "ap-south-1"
}
Now let’s add security group resource.
terraform {
  required_providers {
    aws = {
      source  = "hashicorp/aws"
      version = "~> 3.27"
    }
  }
}

provider "aws" {
  profile = "default"
  region  = "ap-south-1"
}

resource "aws_security_group" "demo_sg" {
  name        = "demo_sg"
  description = "Demo Security Group for CK"

  ingress {
    description = "Allow Inbound HTTP"
    from_port   = 80
    to_port     = 80
    protocol    = "tcp"
    cidr_blocks = ["0.0.0.0/0"]
  }

  ingress {
    description = "Allow Inbound HTTPS"
    from_port   = 443
    to_port     = 443
    protocol    = "tcp"
    cidr_blocks = ["0.0.0.0/0"]
  }

  ingress {
    description = "Allow SSH"
    from_port   = 22
    to_port     = 22
    protocol    = "tcp"
    cidr_blocks = ["0.0.0.0/0"]
  }

  egress {
    from_port   = 0
    to_port     = 0
    protocol    = "-1"
    cidr_blocks = ["0.0.0.0/0"]
  }

  tags = {
    Name = "demo-sg"
  }
}

resource "aws_instance" "demo_instance" {
  ami                    = "ami-06489866022e12a14"
  instance_type          = "t2.micro"
  vpc_security_group_ids = [aws_security_group.demo_sg.id]
}
Description:
A very simple security group resource looks like –
resource “aws_security_group” “demo_sg” {
name_prefix = “demo_sg”
description = “Demo Security Group for CK”
ingress {
}
egress {
}
}
- description: A simple description of this security group
- egress: block that defines degrees rules or outgoing traffic rules for the SG
- ingress: block that defines ingress rule or incoming traffic rule for the SG
- name: name of the SG
- vpc_id: This lets you specify a specific VPC in which to create this SG. By default, it’s the default VPC in the region you are running this terraform config.
- ingress and egress take from_port, to_port to define which port to allow. protocol specifies the allowed protocol and cidr_blocks specifies the range of IP that is allowed.
Step 3: Initialize Your Directory to Download AWS Plugins
You only do this step once per folder/directory. This basically means you are downloading relevant codes/plugins for your mentioned provider which in our case is AWS.
terraform initHit enter and you will see-

Your wording directory gets initialized with the provider-related code and is ready to deploy a resource.
Step 4: Plan and Deploy
The configuration file is created and the directory is initialized. That means we are all ready to deploy our security group.
Now, if you want, you can run the command terraform plan to see what’s actually being created.
terraform planUsing terraform plan shows what you are going to create. However, to keep things simple, I just run terraform apply. Ideally, terraform runs terraform plan every time you hit the command terraform apply. Once you review the plan and confirm yes then only resources will be created.
Terraform will look for .tf file and show you what’s being created.
Review the output and if all is fine say yes to the security group creation.
Once you terraform apply and hit enter, within a few seconds your security group gets created. Also, it gets attached to my instance.

Important Notes: By default, AWS creates an ALLOW ALL egress rule when creating a new Security Group inside of a VPC. When creating a new Security Group inside a VPC, Terraform will remove this default rule, and require you specifically re-create it if you desire that rule.
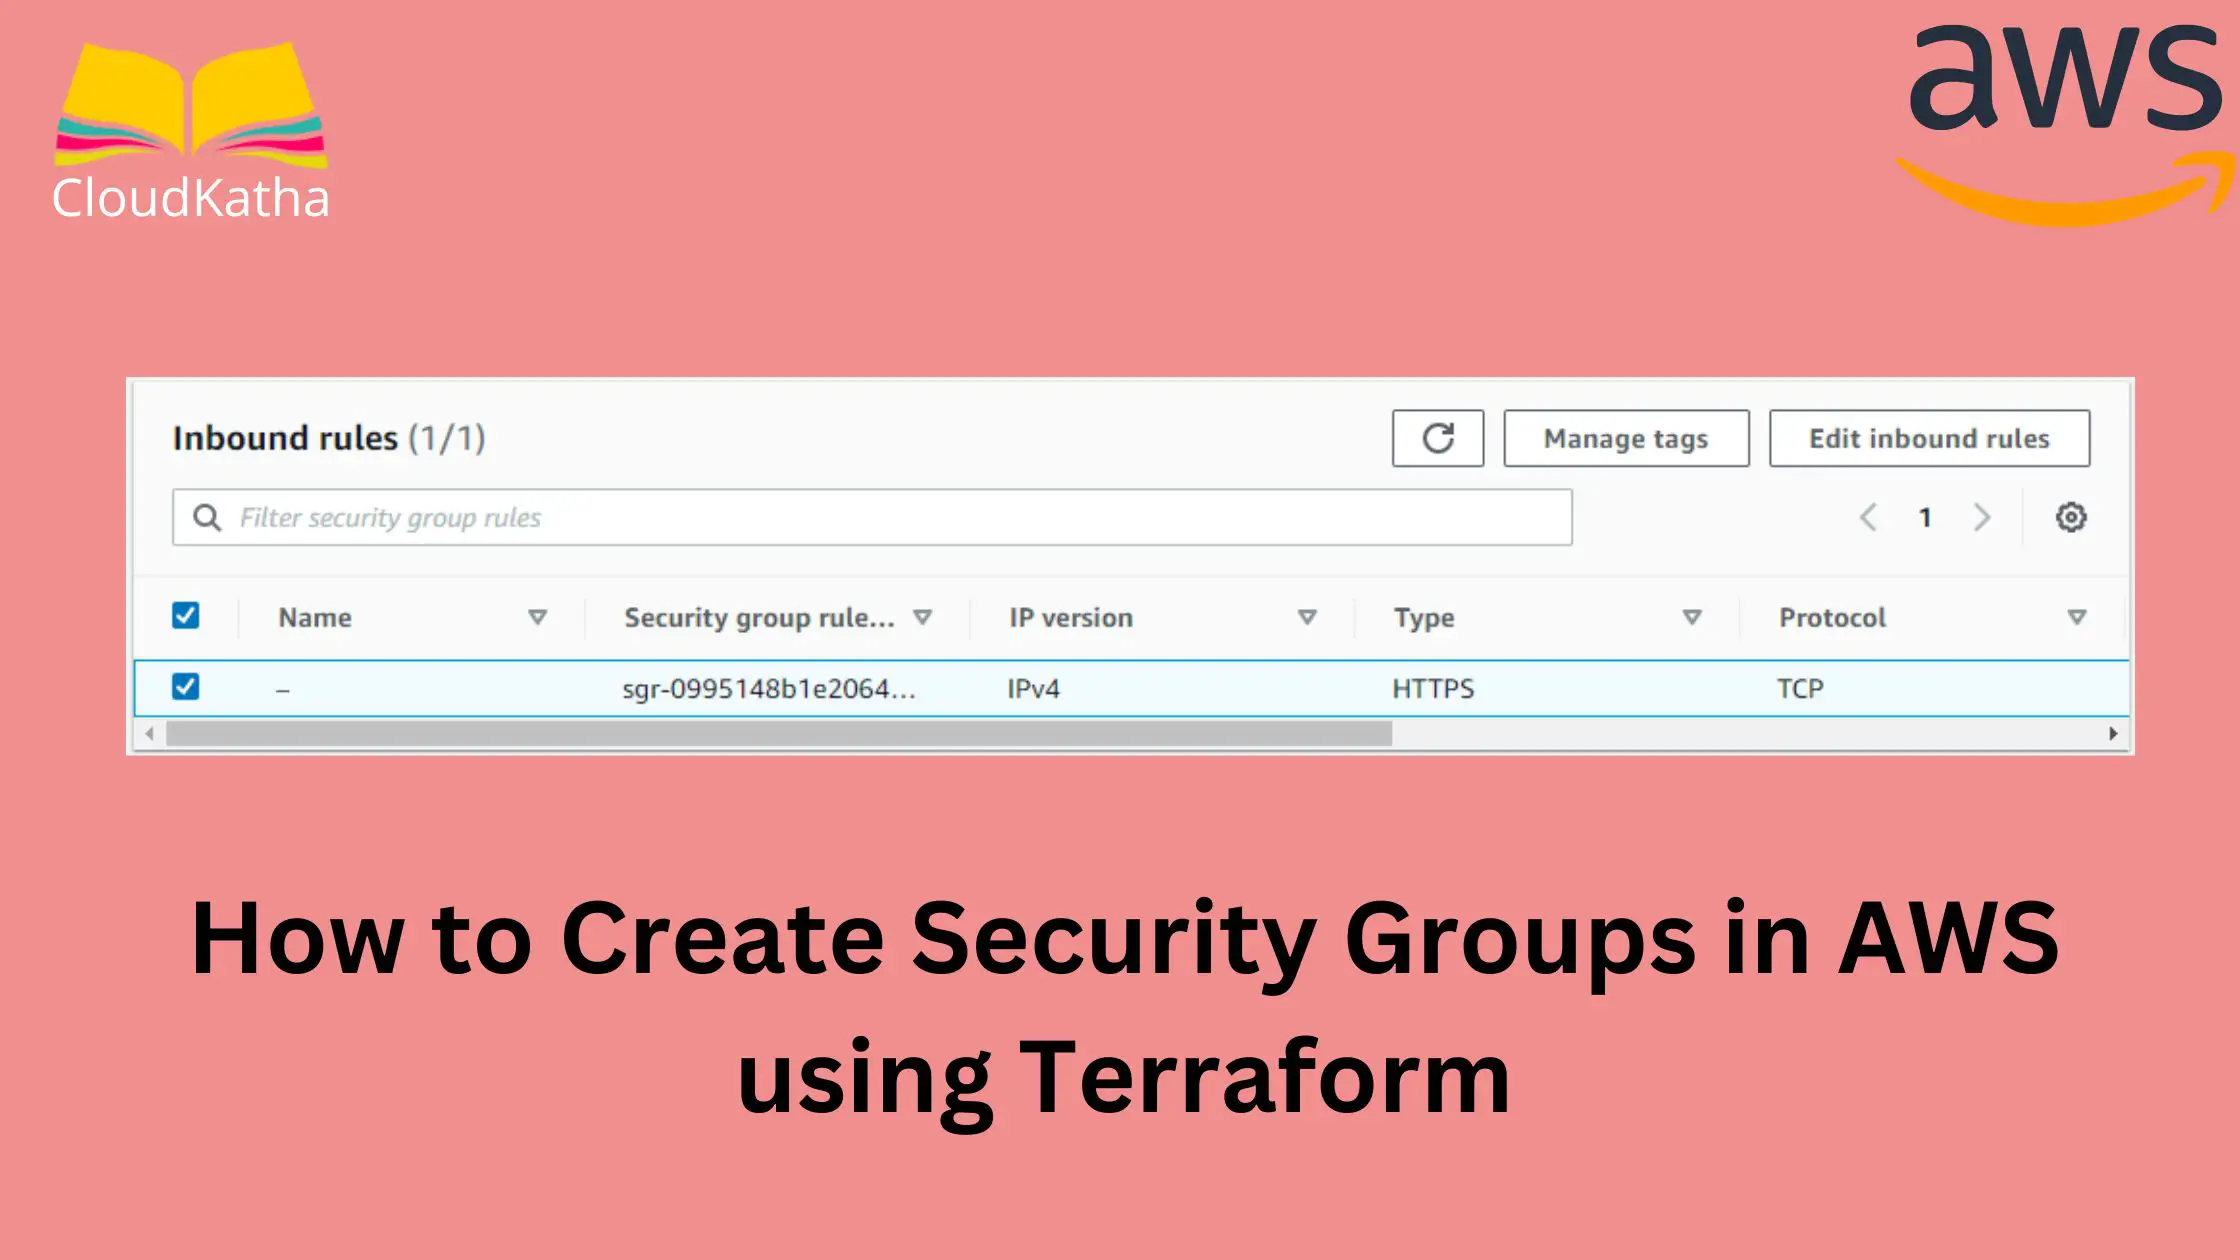
Step 5: Validate Security Group Creation
Login to AWS Management Console. Navigate to EC2. From the left-hand side menu, click on Security Groups. Enter the name of our sg to search with and you can see all details-

You can also click on the Incoming rules, and Outgoing rules tabs to see the rules. For example, this is what our outgoing rule looks like-

Clean Up
Finally, if you are doing this exercise for learning purposes, you can clean up by destroying the created resource.
terraform destroyType yes, and hit enter
Once you hit enter, your resources get destroyed. Once done, this is how you see the destruction complete message.
Conclusion:
In this post, we learnt how to create security groups in AWS using Terraform. We also learnt some important points such as-
- We create inbound/outbound rules to control traffic.
- Terraform removes the default outbound rule(Allow All) so if you need to allow outbound traffic you need to do it explicitly.
- Inbound/outbound rules can either be embedded in the resource. Or it can be defined separately using
aws_vpc_security_group_egress_ruleandaws_vpc_security_group_ingress_ruleresources respectively. - Using separate resources has advantages when cross-referencing security groups to avoid cyclic dependency.
I hope you found this post helpful. Feel free to drop your questions in the comment section.
Enjoyed the content?
Subscribe to our newsletter below to get awesome AWS learning materials delivered straight to your inbox.
Don’t forget to motivate me by-
- Adding a comment below on what you liked and what can be improved.
- Follow us on
- Share this post with your friends